I made these cute wooden name blocks for my even cuter niece for Christmas. They were pretty easy to make, the hardest part was choosing which pictures to put on them.
I started with some 3" by 3" blocks that I got from a free bin at a yard same. They were painted primary colors but I knew I could do something with them.
First I painted the edges in case they showed through. Then I used Mod Podge to stick on some scrapbook paper. The easiest way to do this is to cut the paper slightly bigger than the blocks, apply the Mod Podge to the block, add the scrapbook paper and use an X-Acto knife to trim it to the correct size.
After that dried, I sanded down the edges for a little distressed look and added the photos and vinyl lettering.
They can be displayed vertical or horizontally.
These would be father's day gifts too. I wanted to make these for my husband for father's day but never got around to it. He finally got them for his birthday which was in November. My back up plan was to give them to him for Christmas. It's nice to know I can beat some deadlines.
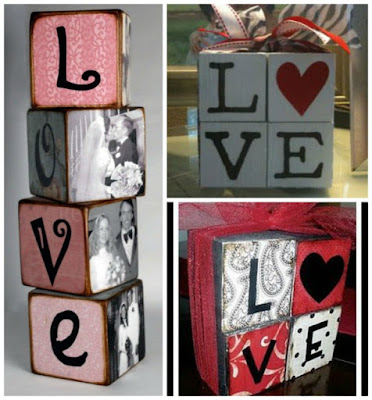
I'm also thinking of making some for Valentine's day. Here are some ideas I found via Pinterest HERE, HERE and HERE.
Anyone else making things with wooden blocks. I'd love to see what you've done. Feel free to link up in the comments below.
Subscribe to CONTROLLING Craziness and get my blog updates via email. Don't miss anymore posts, click HERE to get email updates.


